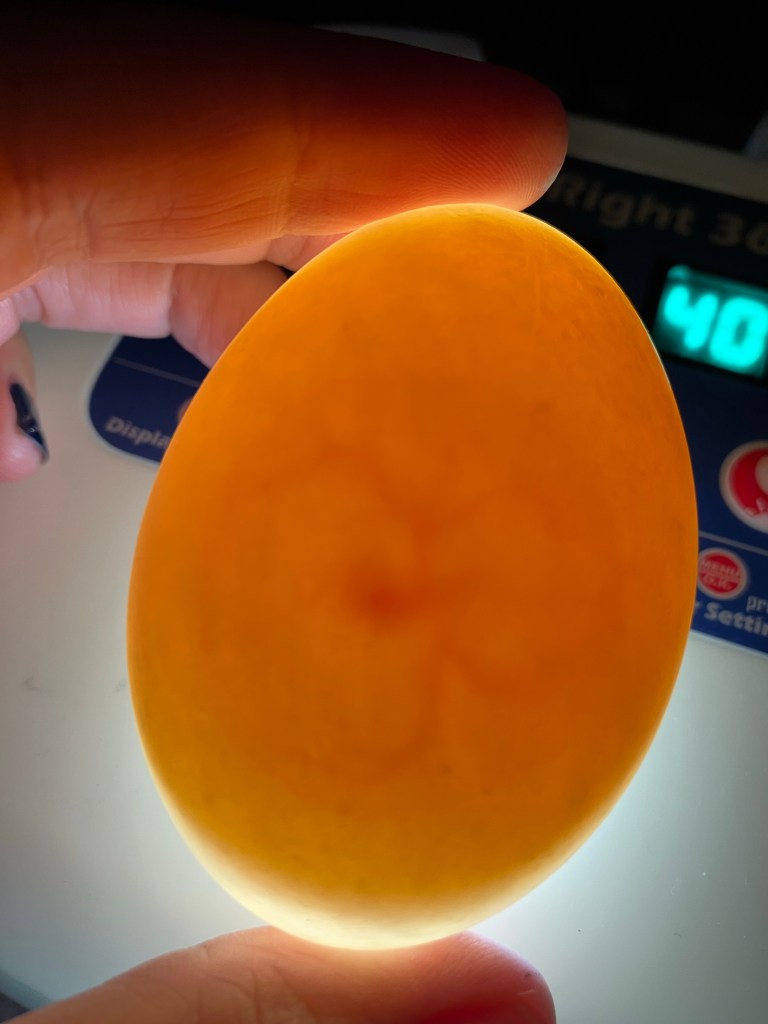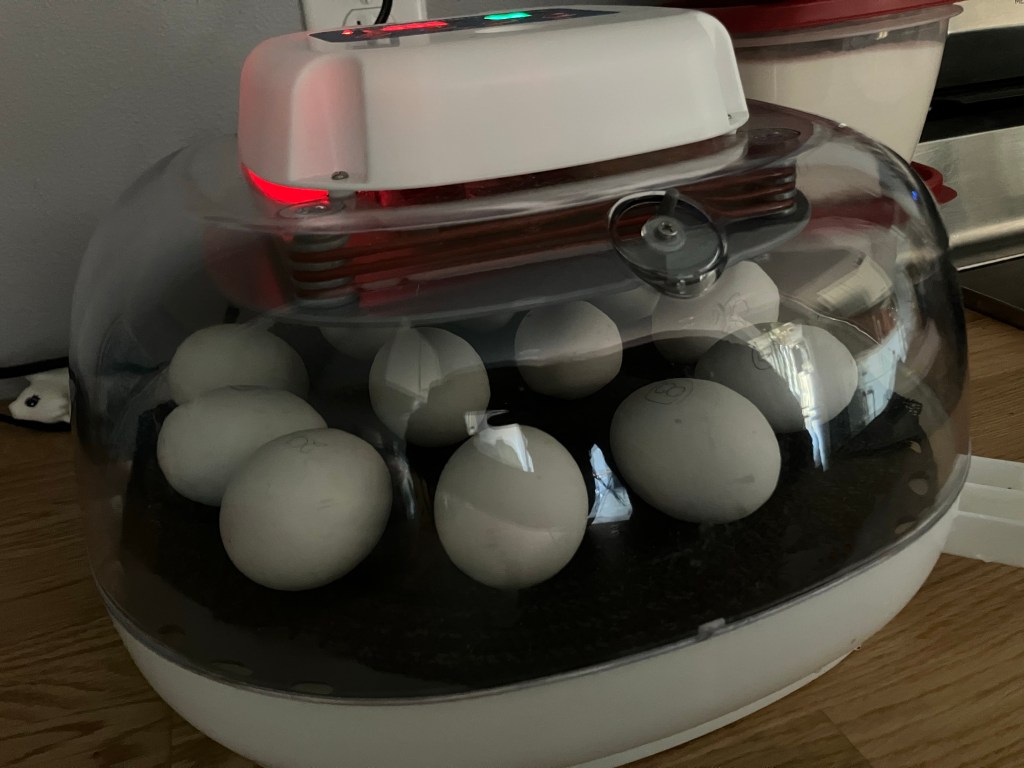

This guide starts when you get your ducklings home, but if you are hatching at home then this guide will begin after your ducklings have moved to the brooder. First they must be dried in the incubator and be getting steadier on their feet. Usually almost 24 hours.

Day 1
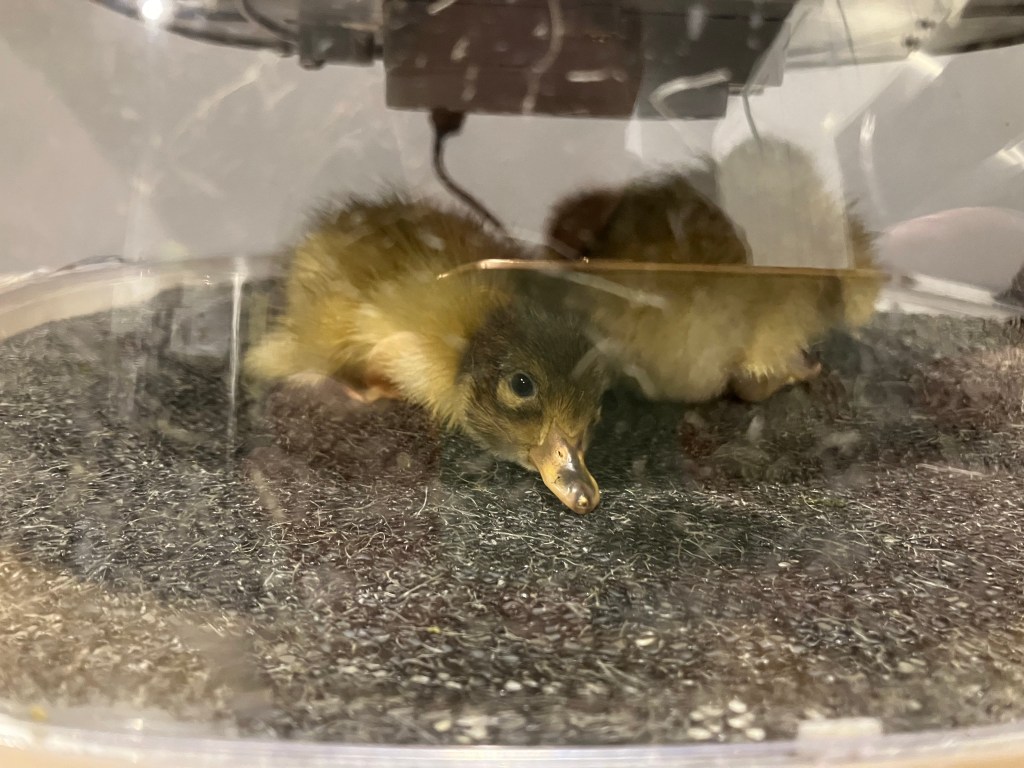
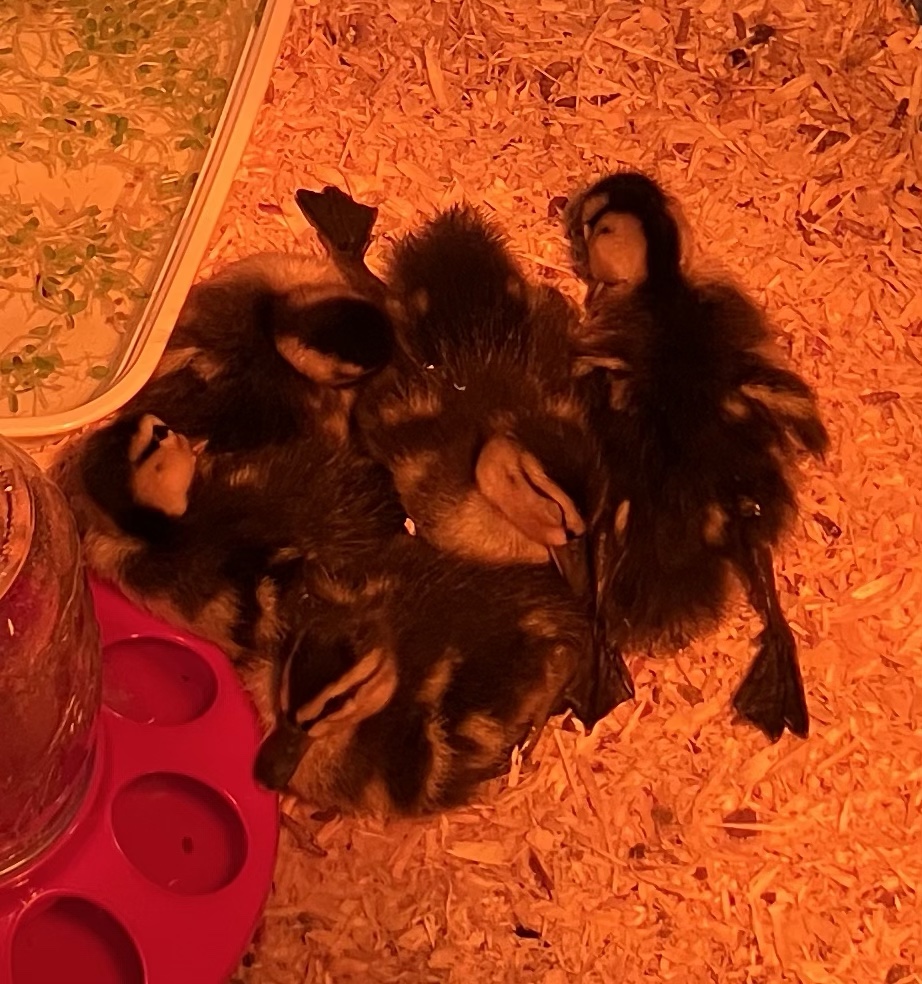
Set up the incubator the day before the ducklings are to arrive. Place the brooder in an out of the way place, like a garage or a barn, or even a bathroom. Ducks are prey animals and scare very easily. Turn on the heat lamp to get the temperature regulated and put the water in already so it can be room temperature. We fill our brooder with wood shavings, and have a special water setup, pictured below. Ducklings seem to thrive better and faster when we added electrolytes to their water, feed stores sell packets of this just for young poultry. We’ve used a few different duckling foods and as long as they’re a crumble, the ducks don’t seem to prefer any over another. We always include a thermometer in the brooder, they’re cheap and can give you a lot of good information on why your ducklings are doing what they’re doing.


- Set up brooder
- Turn on heat lamp
- Don’t forget thermometer
- Fill brooder with bedding
- Place food, water, and thermometer n in brooder
- Optional things like a mirror, a feather duster, or a stuffed animal are nice extras
- Do not give treats the first week
Once you arrive home with the ducklings, take them to their brooder and put them in one by one. Do it that way so that you can gently dip each ducklings bill in the water for one second. Don’t worry if they drink it or not at this time, this is so that they’ll know where the water is.
Once they’re settled, leave them be for the rest of the day. They need a day to rest and figure out what they are and where they are and to figure out each other. Ducks can die from too much acute stress, but a simple day of rest can make all the difference in getting their little mojos back.
It is good to check on them a few times so that they can get used to you and you can observe any oddities among them that may need attention, such as splay leg.
Week 1
For the rest of the first week you will spend as much time as possible with the ducklings. This is important if you want friendly ducks. You simply need to be by the brooder and occasionally talk to and pet them. Get them used to being handled by picking them up and putting them right back down.
They will need enough room for each duckling to walk around but the brooder for the first week should be smaller if possible, so that the ducklings can’t run out of reach in fear of you. The brooder should be 90-95 degrees this week. Refrain from letting them swim or giving them extra treats this first week.

Wash the food and water once per day, disposing of any food that has become soiled. You will need to get the ducklings water at least twice a day even if one time is just to rinse the water setup, they really mess things up fast. I change my bedding as it gets wet and soiled but it will depend on how big your brooder is and how many ducklings you are raising.
Week 2
This is when things start to get more fun. Keep up the good habits from last week with a clean (for ducks anyways) brooder and lots of socialization.

We let our ducklings have their first bath this week. It’s important to make sure you only let ducklings splash and play when it is warm where they are, whether that is inside or outside. Until they have feathers, they can easily become chilled and die if they are allowed to soak themselves when in cold or chilly weather.

I like to do their first bath in either the sink or bathtub so that I can use warm water. Just a little warmer than room temperature, we aren’t trying to cook them! The first bath usually is around two inches deep and I let them play for about 5 minutes before patting them with a towel and putting them back in their brooder. Once or twice this week is more than enough, and if you’re in a cold weather area don’t even do one yet.
Also this week, I introduce some kind of treat. There are all kinds of snacks that ducks love but some of my duck’s favorites have been tuna, peas, mealworms, chopped strawberry leaves, or just about any type of herb that’s safe for ducks. I feed it to them partly by hand and partly sprinkled into a dish of water.

You can give them a treat as frequently as once per day, but don’t give them more than they can eat in 15 minutes or so to make sure they are getting the main pet of their diet as the balanced crumbles. Anything you feed ducklings, make it small and soft, judge by the size of their bills what size they would bite.
Weeks 3, 4, and 5
You’ll probably have to update your brooder setup during this time period. Pay attention to the temperature and turn the heat lamp off if the housing they are in holds a temperature of 70 or higher. Switch out for larger feed and water containers if you find yourself filling them too often.
If you’re in a warm weather area the ducklings can spend a few hours outside here and there, but make sure they have a secure area where predators can’t get to them. Look up for hawks and eagles, they can break through thin wire.
You can give deeper baths now, you’ll love it when they duck dive and start swimming like otters!

Continue spending as much time as you can with the ducklings to get them used to human interaction. It counts if you’re playing on your phone or reading a book nearby them.
Week 6
In all but the harshest climates the ducklings will be able to start moving into their permanent housing by the end of week 6. They’ll have much of their feathers grown in to protect them. At this time I usually let them spend full days outside with shelter, food, and water provided. Three days before moving them out into a coop if there are older ducks they’ll be living with, I put them in a large cage inside their future coops. On those nights I’ll let them sleep inside the coop inside a cage. This way the other ducks get used to the ducklings and after three days they are always able to get along in my experience. I’m sure there would be duck exceptions- just like some humans can’t get along, the same goes for ducks.

The ducklings can start eating pellet food or whatever you feed your adults at this time. I usually increase the number of baths they get to almost daily. You’ll notice that they are losing a lot of baby down every day to the point where they look more grown up after each bath. Letting them kick and splash and swim is much better excorcise than what they get in a brooder, so a ten minute bath is perfect.
If the weather is not ready or their coop is not ready yet, you should keep the ducklings in until 8 weeks.
Around this time you’ll start to be able to judge a duck’s gender by its voice also, just listen for a quack to know it’s a girl. It a raspy croak for a boy. This will get easier each week from here on out.
Weeks 7 and 8
I hope for you that your weather is great because ducks inside at this point get pretty stinky! Having them in a little longer can be great if you use the time to socialize them more.
Just keep them as clean as you can (it’s hard at this stage) and put them outside during the day for increasing periods to acclimate to the weather.
All done!
Now you can compare first day duckling photos to your full grown ducks, it’s truly amazing what you’ve accomplished in just 8 short weeks.


Don’t you want to just…start the entire stinky process over again? 😁